This Life Noted
(Only 2 left!)
This kit is just outstanding! There are some cards and embellishments in this kit that will blow you away. Bright and colorful, this kit is perfect for all of your spring time photos.
DAYLIGHT KIT

What fun colors! This just makes me happy and it screams growth -- spring flowers and showers and all of that. What about you, what do you see?
DAYLIGHT ADD-ON

There are a whole lot of great embellishments in this kit and not just stickers! Some beautiful enamel dots and die cuts just enhance the overall feeling of this lovely kit!
DAYLIGHT STAMP SET

Oh my! Look at that lightbulb and those flags with text! There are so many uses here and I know that this one will be reached for often. Designer Kaitlin Sheaffer really created a winner with this set.
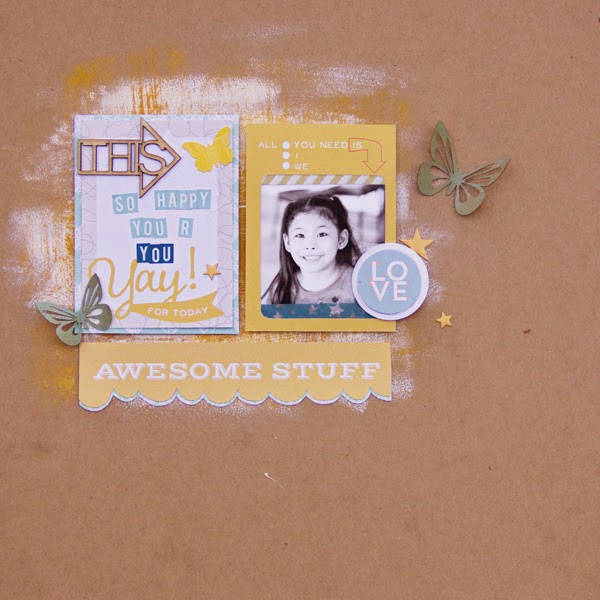
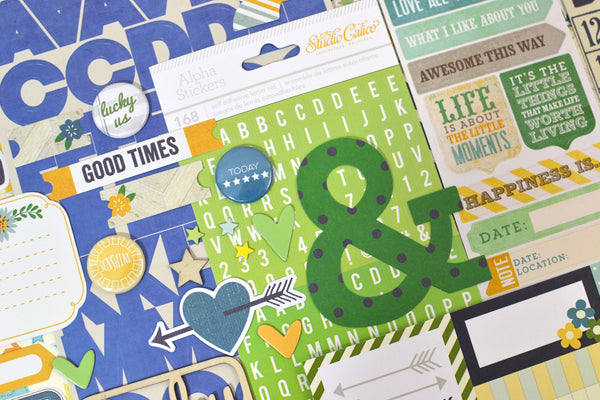
THE STORY I HEARD KIT

Hello! This is the story I heard! What do you know? I know that fun colors, great patterns and those wood veneer numbers are all you need for some great projects!
THE STORY I HEARD ADD-ON

The bright and fresh colors plus abundance of embellishments are perfect for any of those photos you need to scrap!
THE STORY I HEARD STAMP SET

Whimsy and fun with some lovely script? You've found that right here in this stamp set, also designed by Kaitlin Sheaffer!
Would you like to take a closer look at all of the elements of these kits? You can do so in a video my co-DT Jennie made right here that shares all 3 kits + both stamp sets.