February 27, 2013

Layering

I am here to share with you another layout that I did using the Days of Our Lives kit and add-on.

For this page, I have used a photo of the medals my little 4yr old won for the past few years. It was perfect because the color palette of the kit matches the ribbon that goes with the medals. I adore this kit because it has so many interesting embellishments that came with it - chipboard, twine, washi tapes, diecut, wood veneer, etc.


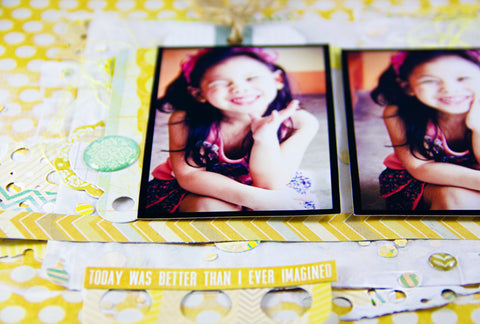
I had so much fun layering a lot of elements on my page. I started with different sizes of patterned papers and included a kraft envelop that I saw from my stash. Then, I added a chipboard frame and some banners using the red washi tape that came with the kit.

To achieve a goo layering effect, make sure to use different foam tapes to add depth. Do not be scared to add a few more details to achieve the look that you wanted. If you have leftover embellishments from previous kits, this is the time to use them. Here I have used a flair button, wood veneer, and journaling spots from past kits.

Here are a few more close up shots of my layering:
 

Thanks for dropping by!

February 10, 2013

Growing Up

Hi everyone!!! I am here to share with you a layout that I did using a Phrase chipboard by Imaginarium Design and the gorgeous Days of Our Lives kit from Scraptastic Club.

I am smitten with all the funny, sophisticated, and creative title work that I see everywhere. It creates a certain story and attitude to scrapbook pages. That is why I love all the ID Word and Phrases Chipboards.

With the January kit, "Days of Our Lives," I was able to make a fun layout using different elements from the kit. I love the embellishments from Fancy Pants.


For the chipboard, initially painted it with white gesso to make sure that my colors will be vibrant. I then chose black acrylic for the word "growing" and teal acrylic for the "house image with the word UP.


To add texture, instead of using an ordinary paintbrush and doing it the traditional way, I used a Popsicle stick to paint my chioboard.

February 7, 2013

Using Past kits

Hi everyone! I am here to share with you a quick layout I just did today. I was hoping that my Days of Our Lives kit will make it before my scheduled post for today but due to customs delay, I'll be getting it tomorrow. Great thing is, I have all my leftover kits packed in one place.

Times like this, I am glad that I didn't sort my leftover kits by manufacturer. I can just grab any of the past kit and create a layout in a breeze. For this page, I have used the Noted Kit.


The coordinated patterned papers and elements made everything easier to create a layout. No need to conceptualize too much. Just layer them on top of each other, sprinkle some mist, add some bits of small elements and you're done.

January 30, 2013

Project Life 2013: Cover

Okay it's a new year so it means a new chance for me to do Project Life.

I started last year but did not religiously posted all my spreadsheets on my blog. Unfortunately, I wasn't able to fully commit myself to the project and failed to finish it. I was able to finish up to the month of July and decided to just add the rest on a monthly spread instead of weekly. I will commit to allocate at least 3 days each month until I complete my 2012 Project Life.

For this year, I decided to make sure that everything is organized from the photos, journaling cards, page protectors, and all the elements. I will also be using my Starbucks planner as my daily notes guide instead of relying on my iPad. I have assigned my Tuesdays to make the previous week's spreadsheet. Now, I am up to date and everything is moving as planned.


MY PL 2013 COVER

I am so ecstatic that I found Simple Stories SN@P! printable online. It was perfect for the sketch that I made for my cover. Here I have used We R Memory Keepers - Page Protectors - Three 6 x 4 One 6 x 12 Inch Photo Sleeves. The 6x12 photo sleeve was perfect for the header of my cover design. I printed and combined the SN@P! elements and arranged it to make sure that the placement was well balanced.

The three 6x4's was used to place our photos with a short description about us and our aspiration. All of the layout were digitally made in Photoshop. I decided that my PL this year will be a combination of digital elements and some traditional scrapbooking elements as well.

You can check out my PL 2012 Cover here.

January 25, 2013

Scraptastic Club Feb kits Sneak Peeks

Everyday Is Like Sunday

This kit has such a fun color palette! Teals, Yellows, Pinks, Greys, Whites and Blacks.....the possibilities are endless. I'm really loving all of the "chalkboard" elements in here as well.
Next up is....

Truly, Madly, Deeply Kit

I only have one word for this one...."love"!

January 21, 2013

Hannah's Favorite Drink

I made a layout using the Mocha Latte kit by Scraptastic Club. This is a sequence of my blogpost a few weeks ago My Favorite Drink but this time around I made a layout of my daughter's favorite drink.


This photo was taken when we were in Bali and we even have to take a couple of packets of her favorite refreshment. Here, I used my Kaisercraft background stamp to create a bubblewrap effect. I also used some diecuts that came with the kit.


January 15, 2013

Using Imaginarium Design Chipboard

I love different texture on my layouts - not too much but at least some variety. As you can see on my first page, I have used several elements to get the right amount of texture. I have used felt, doily, paint, and the chipboard.

Products Used: BasicGrey and EchoPark Patterned Papers, Prima Flowers,BasicGrey felt embellishments, BasicGrey stickers, Studio Calico Mists, Gesso, Kaisercraft Acrylic Paint, Stickles, Liquid Pearls, Doily, and Silhouette Cameo
Imaginarium Design Chipboards used:
Train Track Border (IDB0006) 

 For the chipboard, I initially painted it with teal acrylic paint. By simply adding Stickles to the circles, I was able to highlight it as if it were some kind of fruits.


I have used the train track chipboard as a fence. Here, I covered the chipboard with sand, painted everything with white gesso so that the true color of the mist will show, and sprayed 3 colors of mist to achieve this look.


Thanks for dropping by!

January 11, 2013

Confetti + Chipboard

Hi everyone! Today I am here to talk about a new trend that is getting popular in the scrapbooking and cardmaking industry, CONFETTI. According to Wikipedia, confetti is a multitude of pieces of paper, mylar or metallic material which is usually thrown at parades and celebrations, especially weddings. It is made in different colors, shapes or sizes. The great thing about confetti is you can achieve this effect on our papercrafts using scrap materials we already have - scissors, punches, or even negatives from leftover diecut pieces.
 

 I am sure you have seen a couple of layouts and cards in our gallery using this technique. I, myself, am fond  of this. I use confetti's to accent my pages, as part of my background, or even as a filler for empty spaces.

(using When Skies Are Grey kit by Scraptastic Club)

The effect of using confetti's on a layout or a card can be initially challenging. When I adhere these little pieces of paper, I do it one by one using a glue pen. Some uses spray adhesive wherein they spray their page entirely and just sprinkle the confetti over. I think both techniques will work but it will boil down to how much confetti you wanted on your project.


Imaginarium Design Chipboards used:
Frame for 600mm x 90mm Picture  (IDDL0007)
Two Hearts with Cross Flourish (IDDL0004)

Since my page is minimalist and I used the chipboard frame to be the guide to direct the eye to the photo, I just painted it with a bold teal acrylic paint.

January 7, 2013

My Favorite Drink

Unlike most of you, I am not a coffee fan. I drink coffee only when needed - too sleepy while working. I just don't like the after taste of coffee on my tongue. I often opt to a lot of cream when I drink some.

Inspired by the brown palette of Scraptastic Club's Mocha Latte kit, I made a layout of my favorite coffee based beverage, Mocha Frappe.


Here, I played with the hexagon stickers that came with the kit. I also used some background stamps that I found in my stash and some sprinkled mists. I love layering so I did some layering here with japanese paper.


Thanks for dropping by!

January 3, 2013

Sketch and Cardstocks

As you all know by now, the Scraptastic Club kits comes with coordinating cardstock along with all the goodies. Since I am a patterned paper gal, cardstock is always my leftover from the kits. This time around, I challenged myself to highlight the cardstocks in my page.

Here I have used the Mocha Latte kit and a sketch from Filipino Scrapbookers Challenge blog


I also love the Scraptastic Club exclusive die cut pieces that comes with the kit. They are also made using cardstock which I added to my design. To add more interest, I included a few more die cut stars, tiny circles, and the word "FUNNY" using my Cameo.


January 1, 2013

Scraptastic Club January Kits REVEALED!

Happy New Year!! I hope everyone had a great New Years! Are you excited to see what Jessica has in store for you for January?? Let's take a look!!

Chasing Pavements Kit

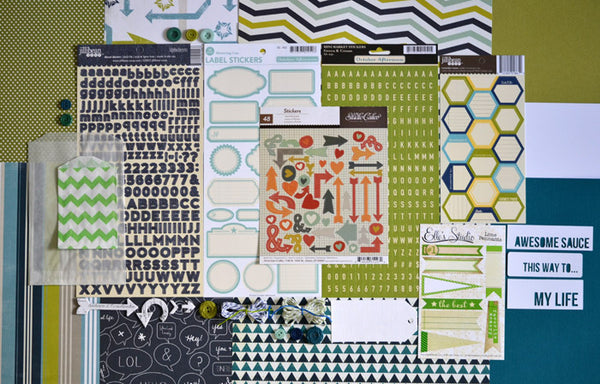
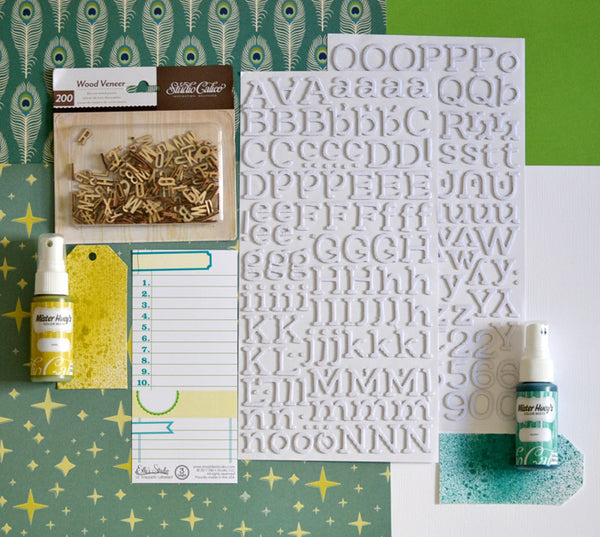
This is such a great color palette, the blues and lime green. Another great versatile kit, but would also make some great masculine pages! Lots of Studio Calico mixed with Elle's Studio, October Afternoon, Jillibean Soup to name a few.

Chasing Pavements Add-On

Days of Our Lives Kit

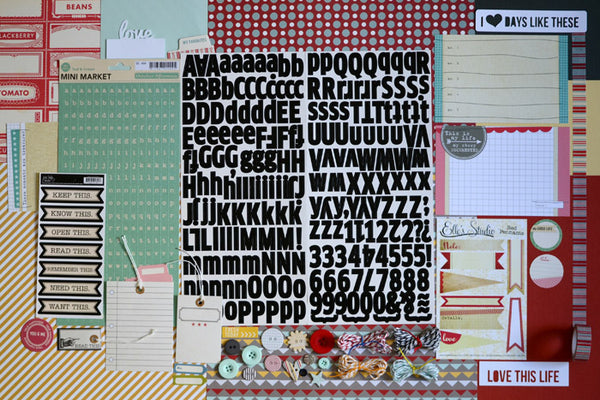
This is another great, versatile kit with lot of great colors and mix of manufacturers. Fancy Pants, OA, Elle's Studio, Studio Calico. I can imagine all kinds of pages with this one. Notice the exclusive cuts from Jessica once again in both kits?? :)

Days of Our Lives Add-on

January 2013 Stamp Add-On

2 more 4x6 exclusive stamp sets designed by our very own Heather Landry!
 

December 17, 2012

Just For Fun

Christmas is just around the corner. Like everyone else, this is the busiest time of the year for me and my family. We are mostly outside running errands, participating in school events, trips here and there, and catching up with our Christmas shopping. I will be lucky if I even have the time to scrap.

Happily, I managed to find a layout that I did awhile ago but forgot to post it here. My blog has been quiet lately so just imagine how thrilled I am that I can post something here.


This layout is not for any DT assignment. I used my scraps to create this playful layout adding different shaped elements. I also did some doodling, painting, and stamping here. I love how different this is from the layouts I used to make.

Thanks for dropping by! Happy Holidays to everyone!

December 10, 2012

Loving the Color Yellow

Hi everyone! A quick share of 2 more layouts that I did using the When Skies Are Grey and add on.

One Of A Kind Silly

I adore this polka dots patterned paper that came with the main kit. Here, I used it as my background paper. To make my photos pop, I used some gesso paint and Japanese paper to make the center subtle. 


With this month's layering theme, I played with different elements like punched circles, layers of Japanese paper, the negatives of my punched circles, brads, tags, and some strips of patterned paper.

The Best Day

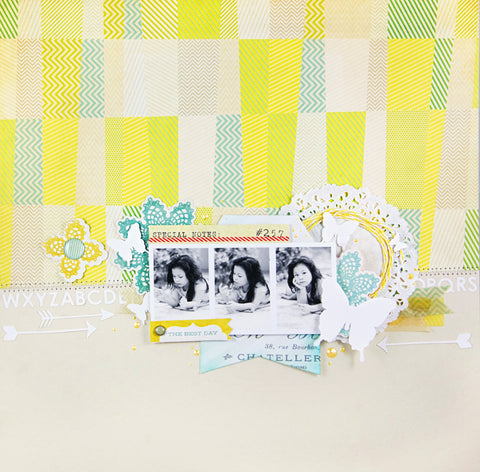
For my second page, I went with the clean look with a lot of negative space. The lower center has all the elements.


Thanks for dropping by!